
Photography Series: Editing Basics
WHERE TO BEGIN! There is so much to say on the subject of editing. After a lot of time spent on how much I wanted to cover in this post... I decided to whittle down the scope to a few categories: Programs I use, the process I go through to edit my photos, and the basics of Lightroom (the program I use for 90% of my photos) including PRESETS! and how I use those to speed up my editing process and to create a consistent theme across my blog and Instagram grid. ( BUY MY PRESETS HERE!)
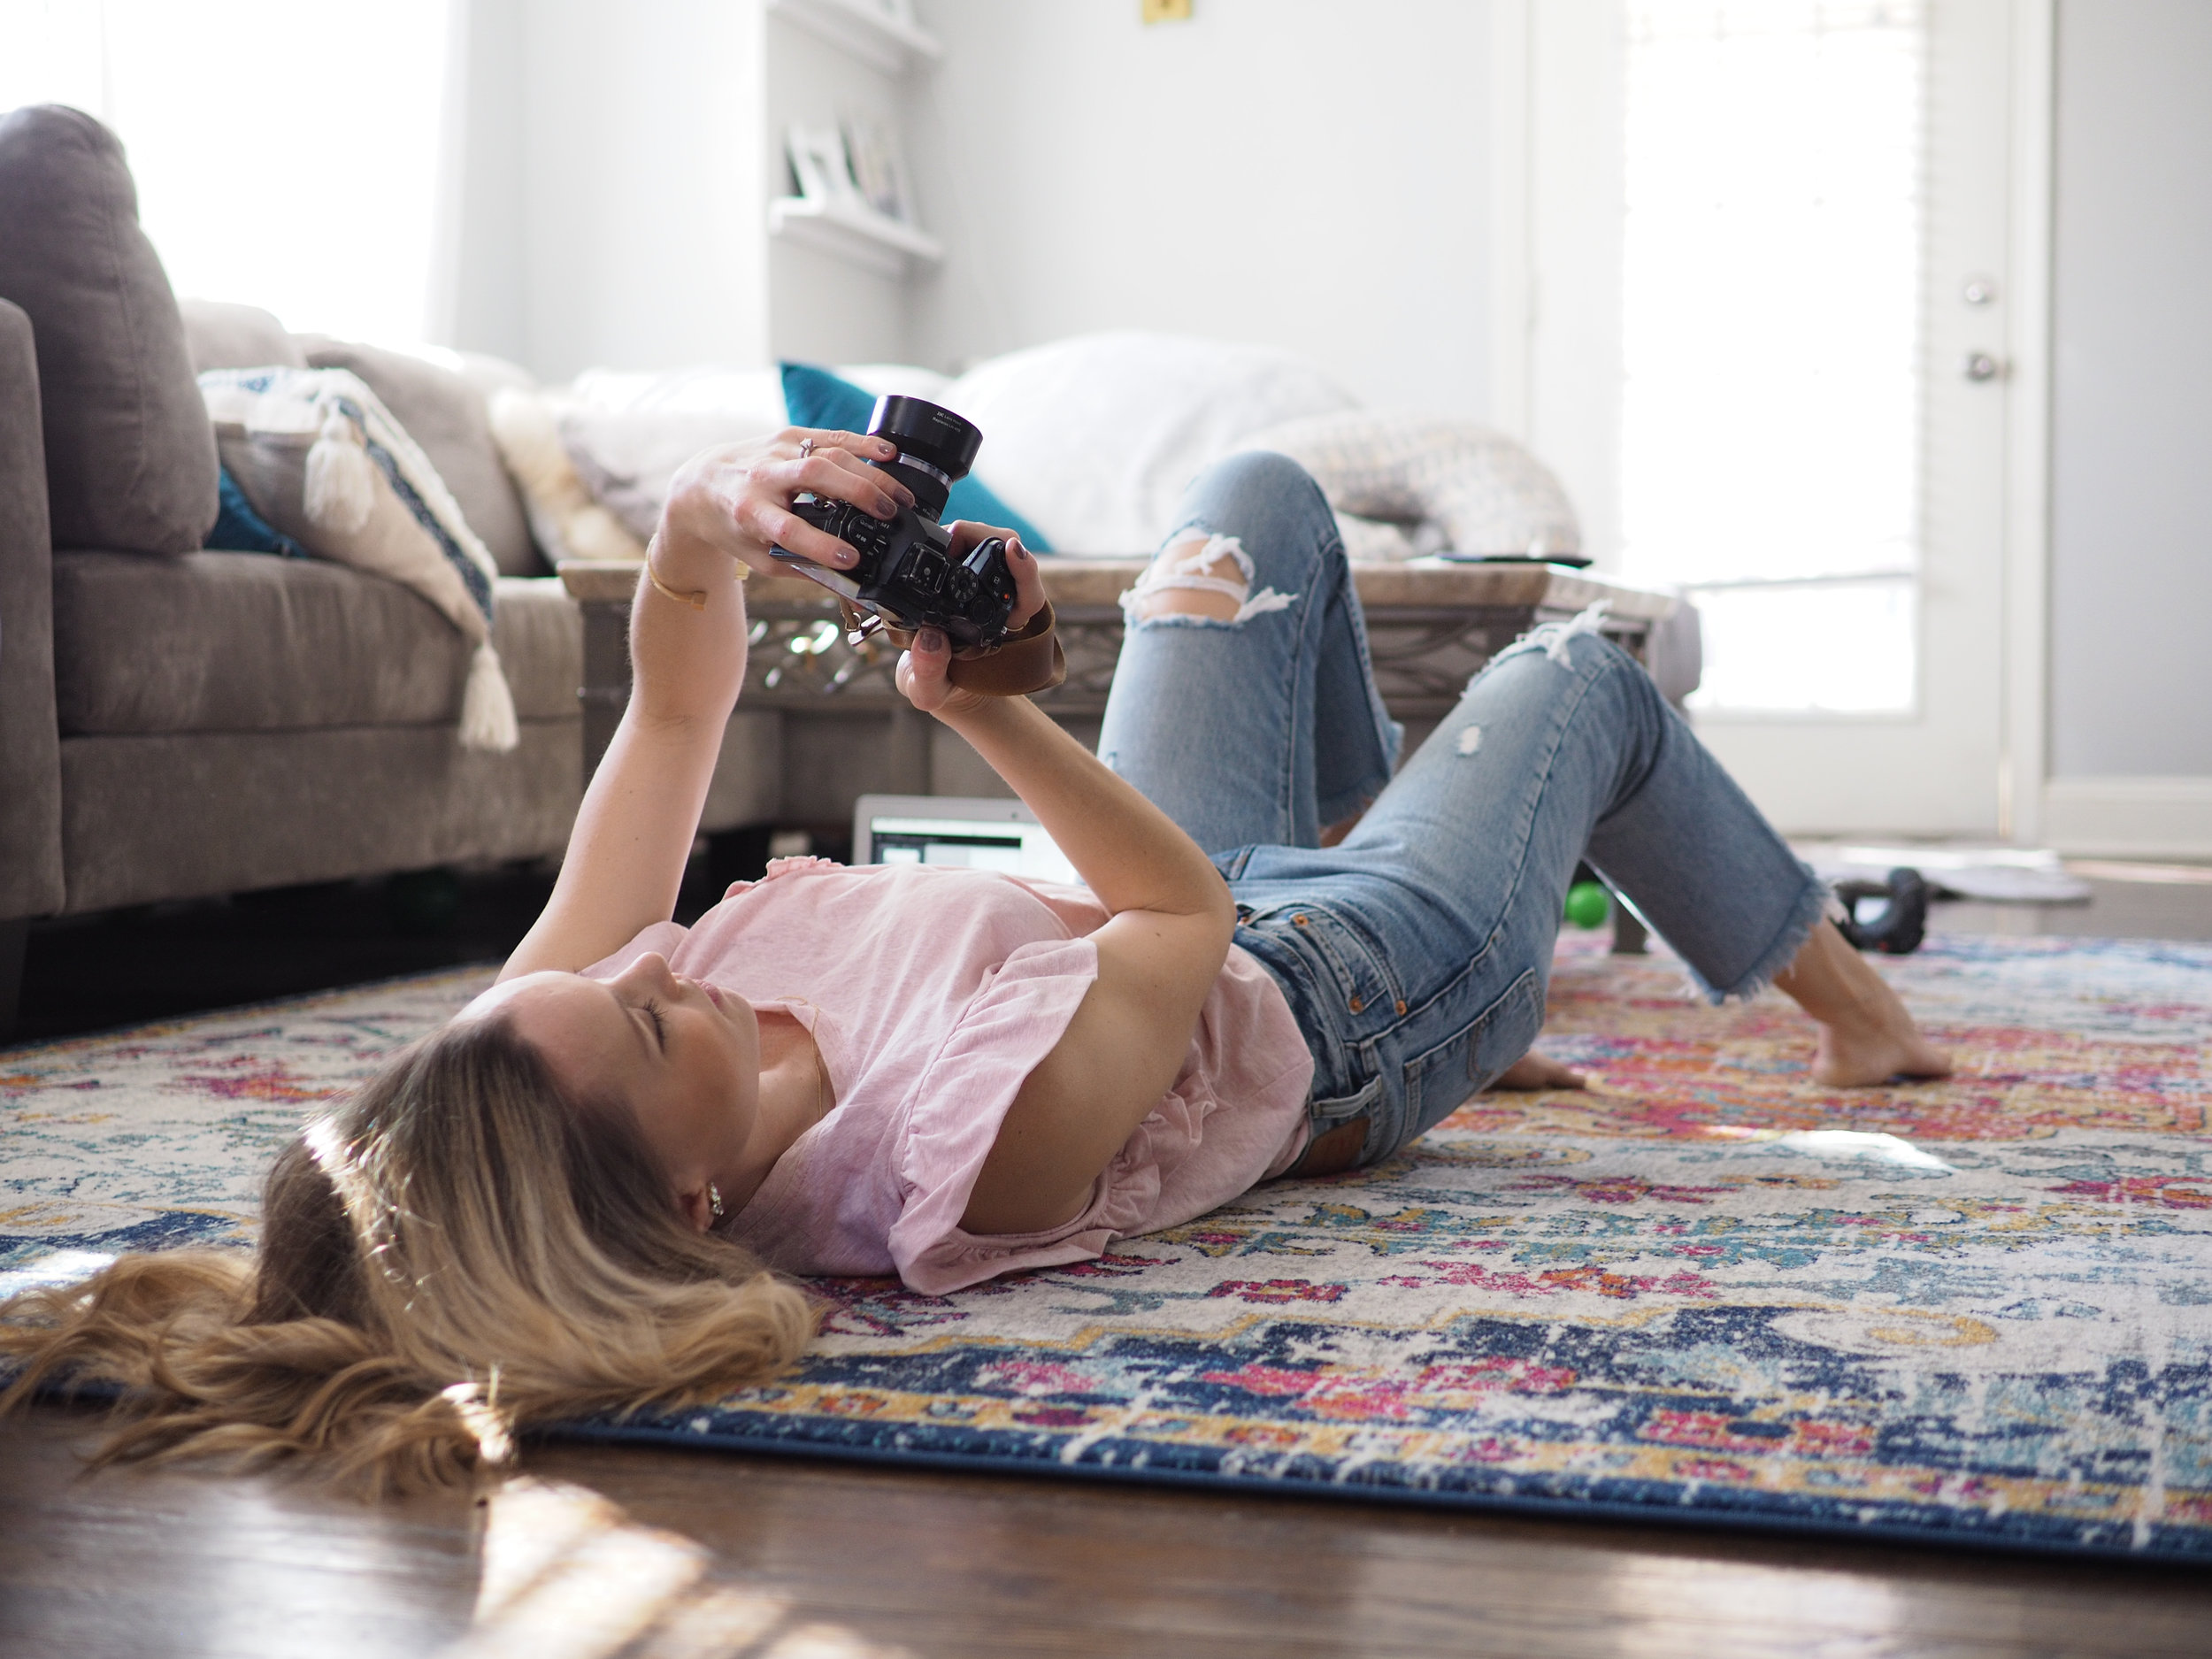
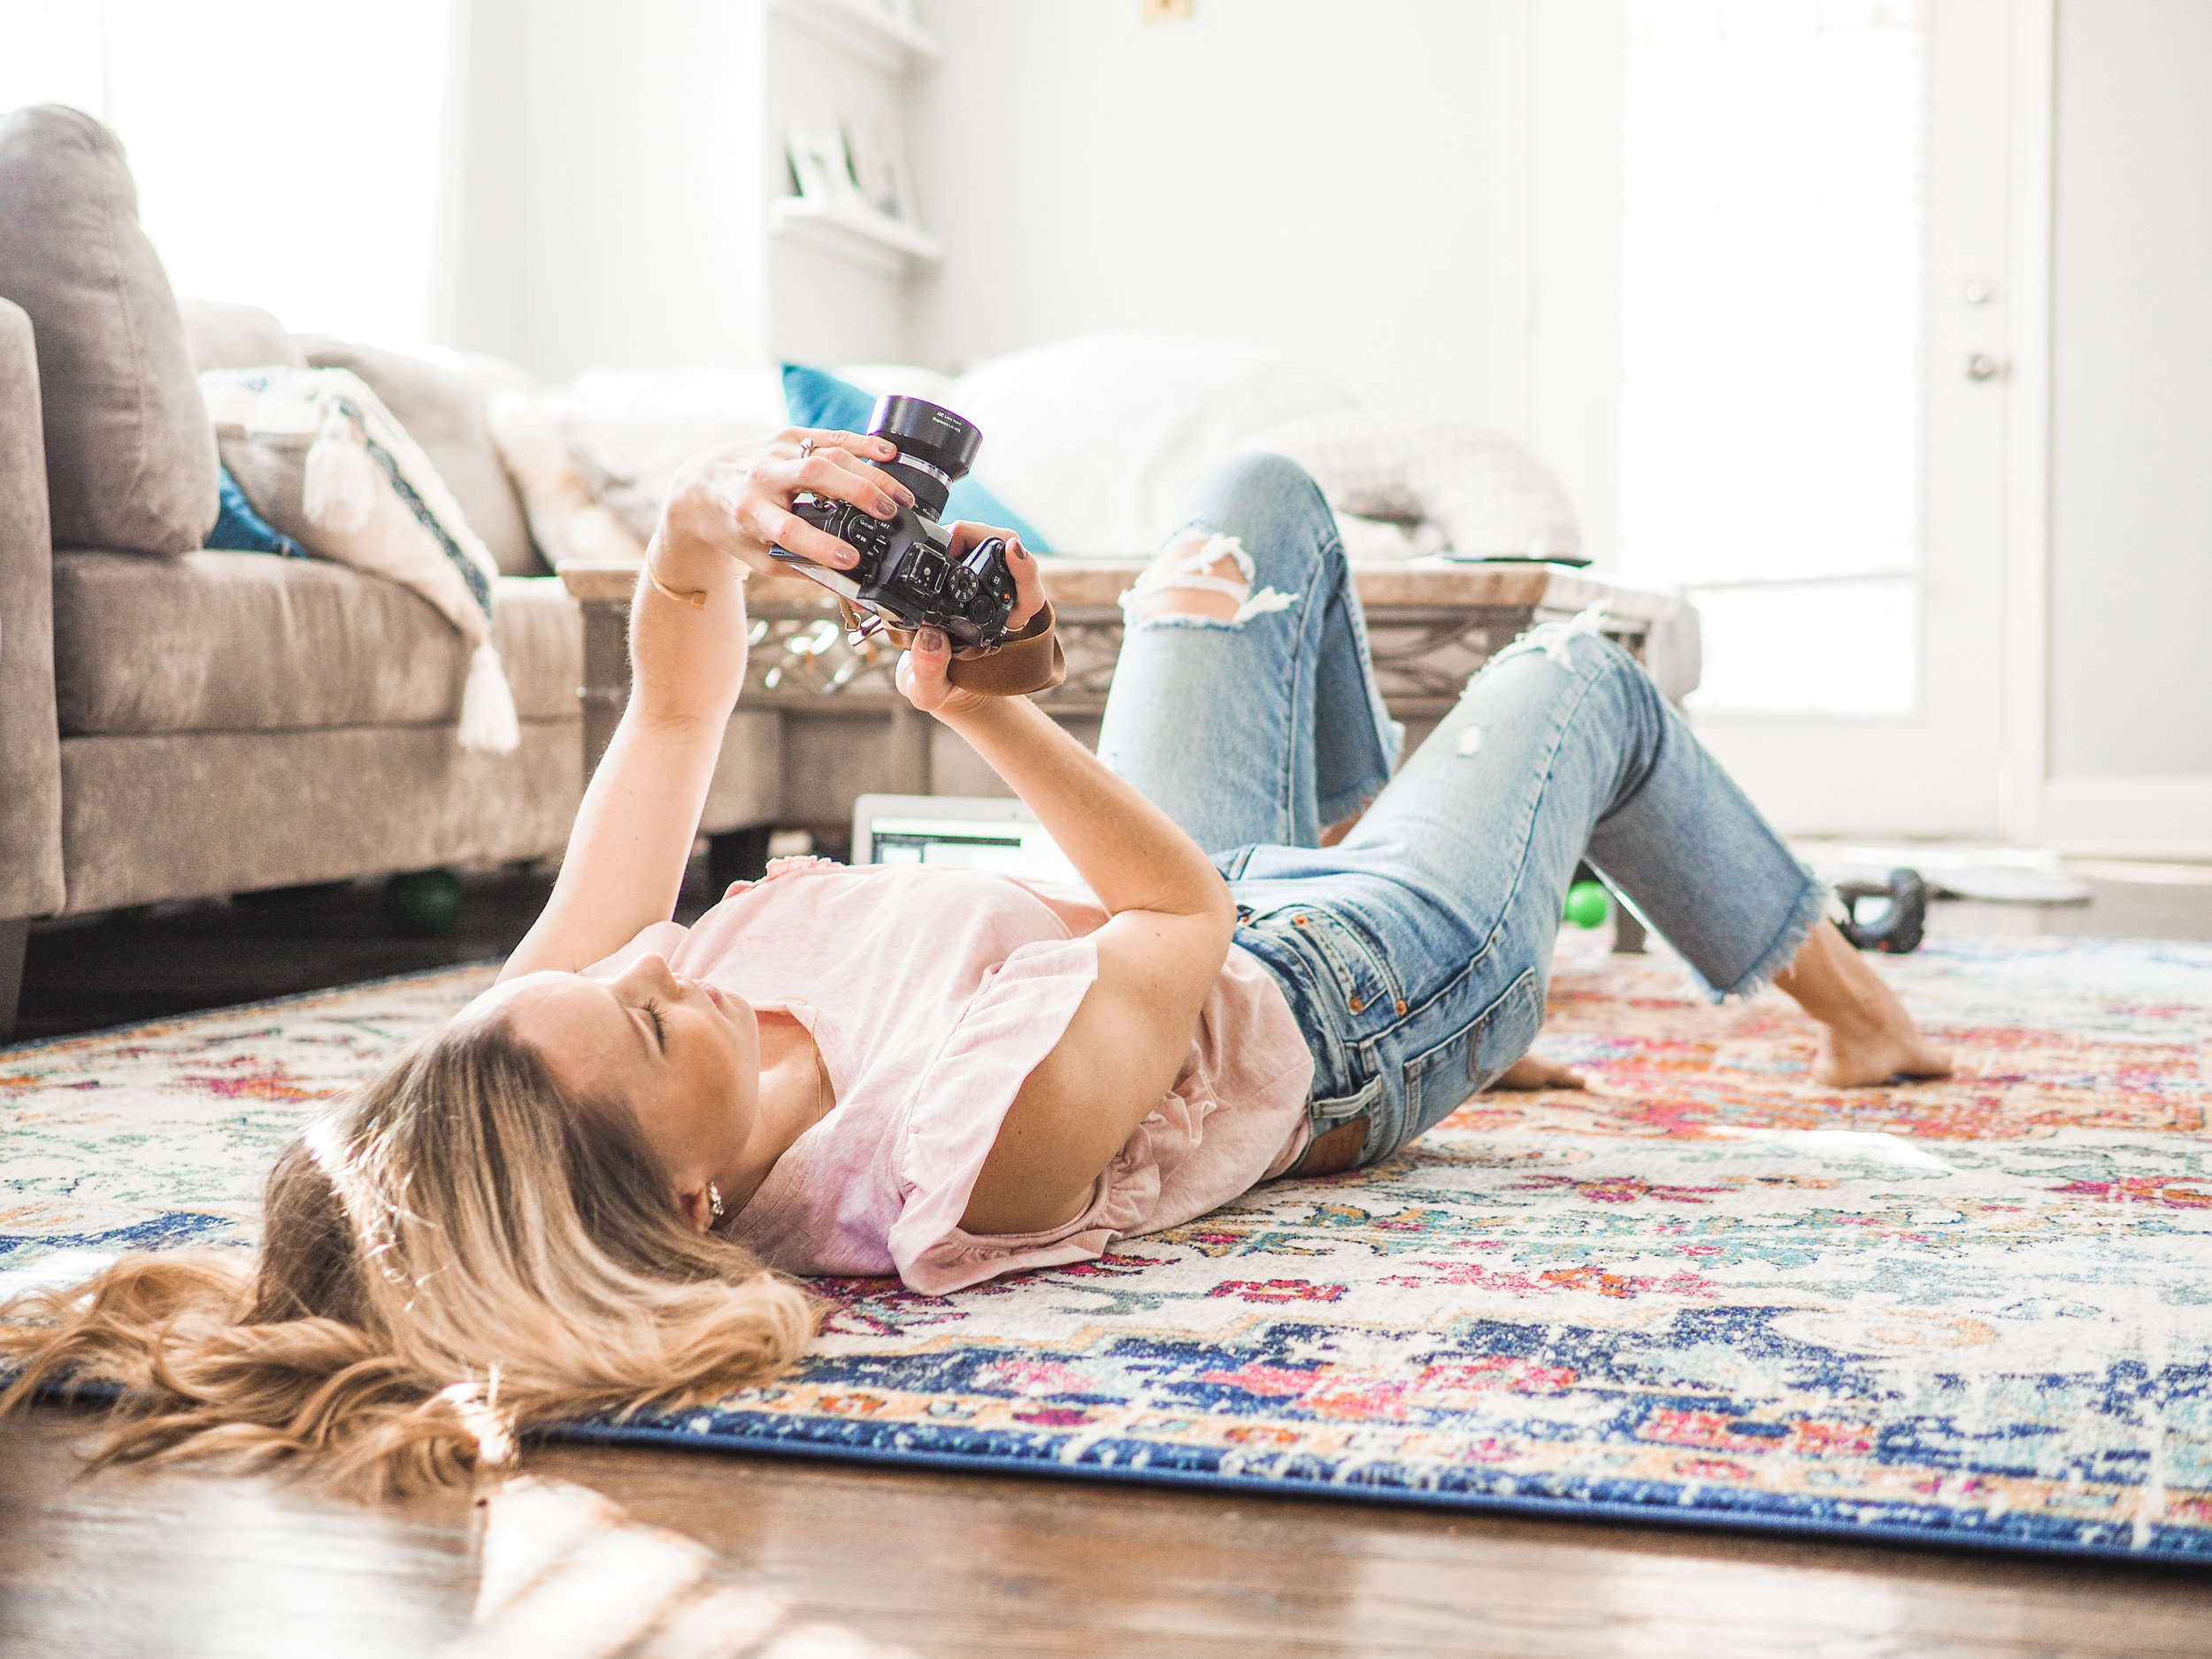
before & after editing in Lightroom
Programs I Use:
Mobile Apps:
VSCO:
VSCO is a free app download with a few free filters included however most worthwhile filters you have to purchase separately. n the past I used the "VSCO Mobile Presets 1" bundle which is $59 (I have now switched to using my own presets in Lightroom Mobile). I use VSCO to edit my iphone photos, or photos off my camera if I am on the go. It is really user friendly and easy and quick option! I also edit videos within VSCO when I am done cutting them together - you can put a filter on videos after uploading them in VSCO, or just adjust brightness, contrast, shadows, etc.
Snapseed:
Snapseed I am starting to use more and more - my favorite function is a tool that allows you to selectively edit whatever part of the photo you want while leaving the rest of the photo untouched. This is helpful if - for example, you want to brighten up, or add more contrast to say your outfit, or whatever other subject you have in your photo, but leave the other parts of the photo untouched. Snapseed also has filters and adjustments, but I prefer VCSO to make those edits first, and if I need to make selective edits, I will open the photo in Snapseed to finish.
Lightroom:
Now onto the program I use MOST of the time!...
We pay for Lightroom through the Adobe Creative Cloud (check it out here). This program costs us 9.99/month to access and it is totally worth every penny as I use Lightroom daily! (BUT, if its your first time trying it, you get your first month for free!) When you first begin in Lightroom, it can feel totally overwhelming. Lots of sliders and lingo that seems foreign if you are unfamiliar. I have a few suggestions to get you started if you are new. Number one is LYNDA! I learned everything I know now from courses I have taken through Lynda. Lynda does cost $ to access, BUT I know many libraries offer access for free with a library card! (Mine does!) It only takes a few hours to get your feet wet and I highly recommend it as an easy and quick way to learn! (try this course to start, it focuses on quick fixes) Another way to learn is just to play around with it! You learn a lot by just moving the sliders and seeing what hitting + or - on each slider does to your photo.
Lightroom Mobile:
Lightroom has a mobile app that is free - but if you sign into your account that you signed up to the Lightroom paid version that is on your desktop - you can access your photos and presets that you have already on your desktop. - (more on HOW to do that coming soon)
Overview on my process of editing:
Organization & Storage:
Most of our photos come off of our camera - I then upload them onto an external hard drive (we have this one) where I organize everything by month - (each month has its own folder) and within each month I create more folders - with a short descriptor of what was included in that photoshoot. Once I transfer all the files from card to organized folder on the hard drive, I then import the individual folder I want to edit into Lightroom where I can then begin my editing process.
1. Importing and sorting:
After I import the folder I want to work on, I go through one-by-one each photo with the arrow keys and flag the ones I like at first glance. I don't think TOO much about it - I just flag it (just hit the "p" key to flag, or "u" to unflag!) Once I flag the ones I like the most, I go back and look ONLY through the flagged photos and use the star system to rate my photos. If I really like it and definitely want to use it I rate it 5 stars (just hit the "5" key") if I like the photo but not sure if I will definitely use it I rate it a 4. (You can rank and use any number of stars from 1- 5, but I typically just use 4 or 5 to determine if they are keepers or not). Once I have all the photos weeded out I begin the actual editing process.
2. Apply a preset:
Presets!: Presets are such a time saver! When I began editing our own photos years ago, I found a course on Lynda that showed how to save time by saving the unique combination of settings as a "preset" to use on a group of photos so you can batch edit them to create a similar look across all of them. So i began to save my own recipes of settings and easily applying them to all my photos. I used them as a starting point - and from there I only had to make minor changes to each individual photo. Presets allow me to create a cohesive "look" to all my photos. I definitely go through phases of how I like to edit, but currently I am loving warm, golden tones that make my photos look light and bright. I have 5 presets that are slightly different but can be applied to create a cohesive theme. I apply the preset after toggling between all of my presets to decide which one looks best for the individual photo I am currently editing. I will apply the SAME preset to the entire batch from one photo shoot (or day... or photos used for one particular post- to create a cohesive look) and then go through the photos again to make minor individual adjustments to each of them.
3. Make minor adjustments:
After I apply one of my presets I make a few minor adjustments if needed on a photo by photo basis. Typically, brightness, shadows, highlights, and sometimes clarity or grain are the only sliders I have to touch and its pretty quick once I have the preset applied to the batch.
4. Export:
After I am happy with all the photos I have edited, I will export them to the SAME folder as the original photo - but in a subfolder I name "Edits". This way I still keep the originals, and the edits are quick and easy to find when I want to share them or upload them to my blog.
Phew!
I know you are thinking that is A LOT of information! Especially if you are new to Lightroom, or are unsure what I am talking about without actually SEE me do it. Believe me I understand.. I am a visual person myself!
That is why I decided to make a how-to video - I walk you through the basics of Lightroom (everything I describe above) along with exactly HOW to use my presets and make minor adjustments that will take your photos to the next level! This is for anyone just getting started with editing and unsure where to start - or just to see how I personally use my presets. The video is included with the purchase of the Meg Cusick presets (COMING SOON!)
Introducing the Wanderlust Pack by Meg Cusick!
click here for before & afters!
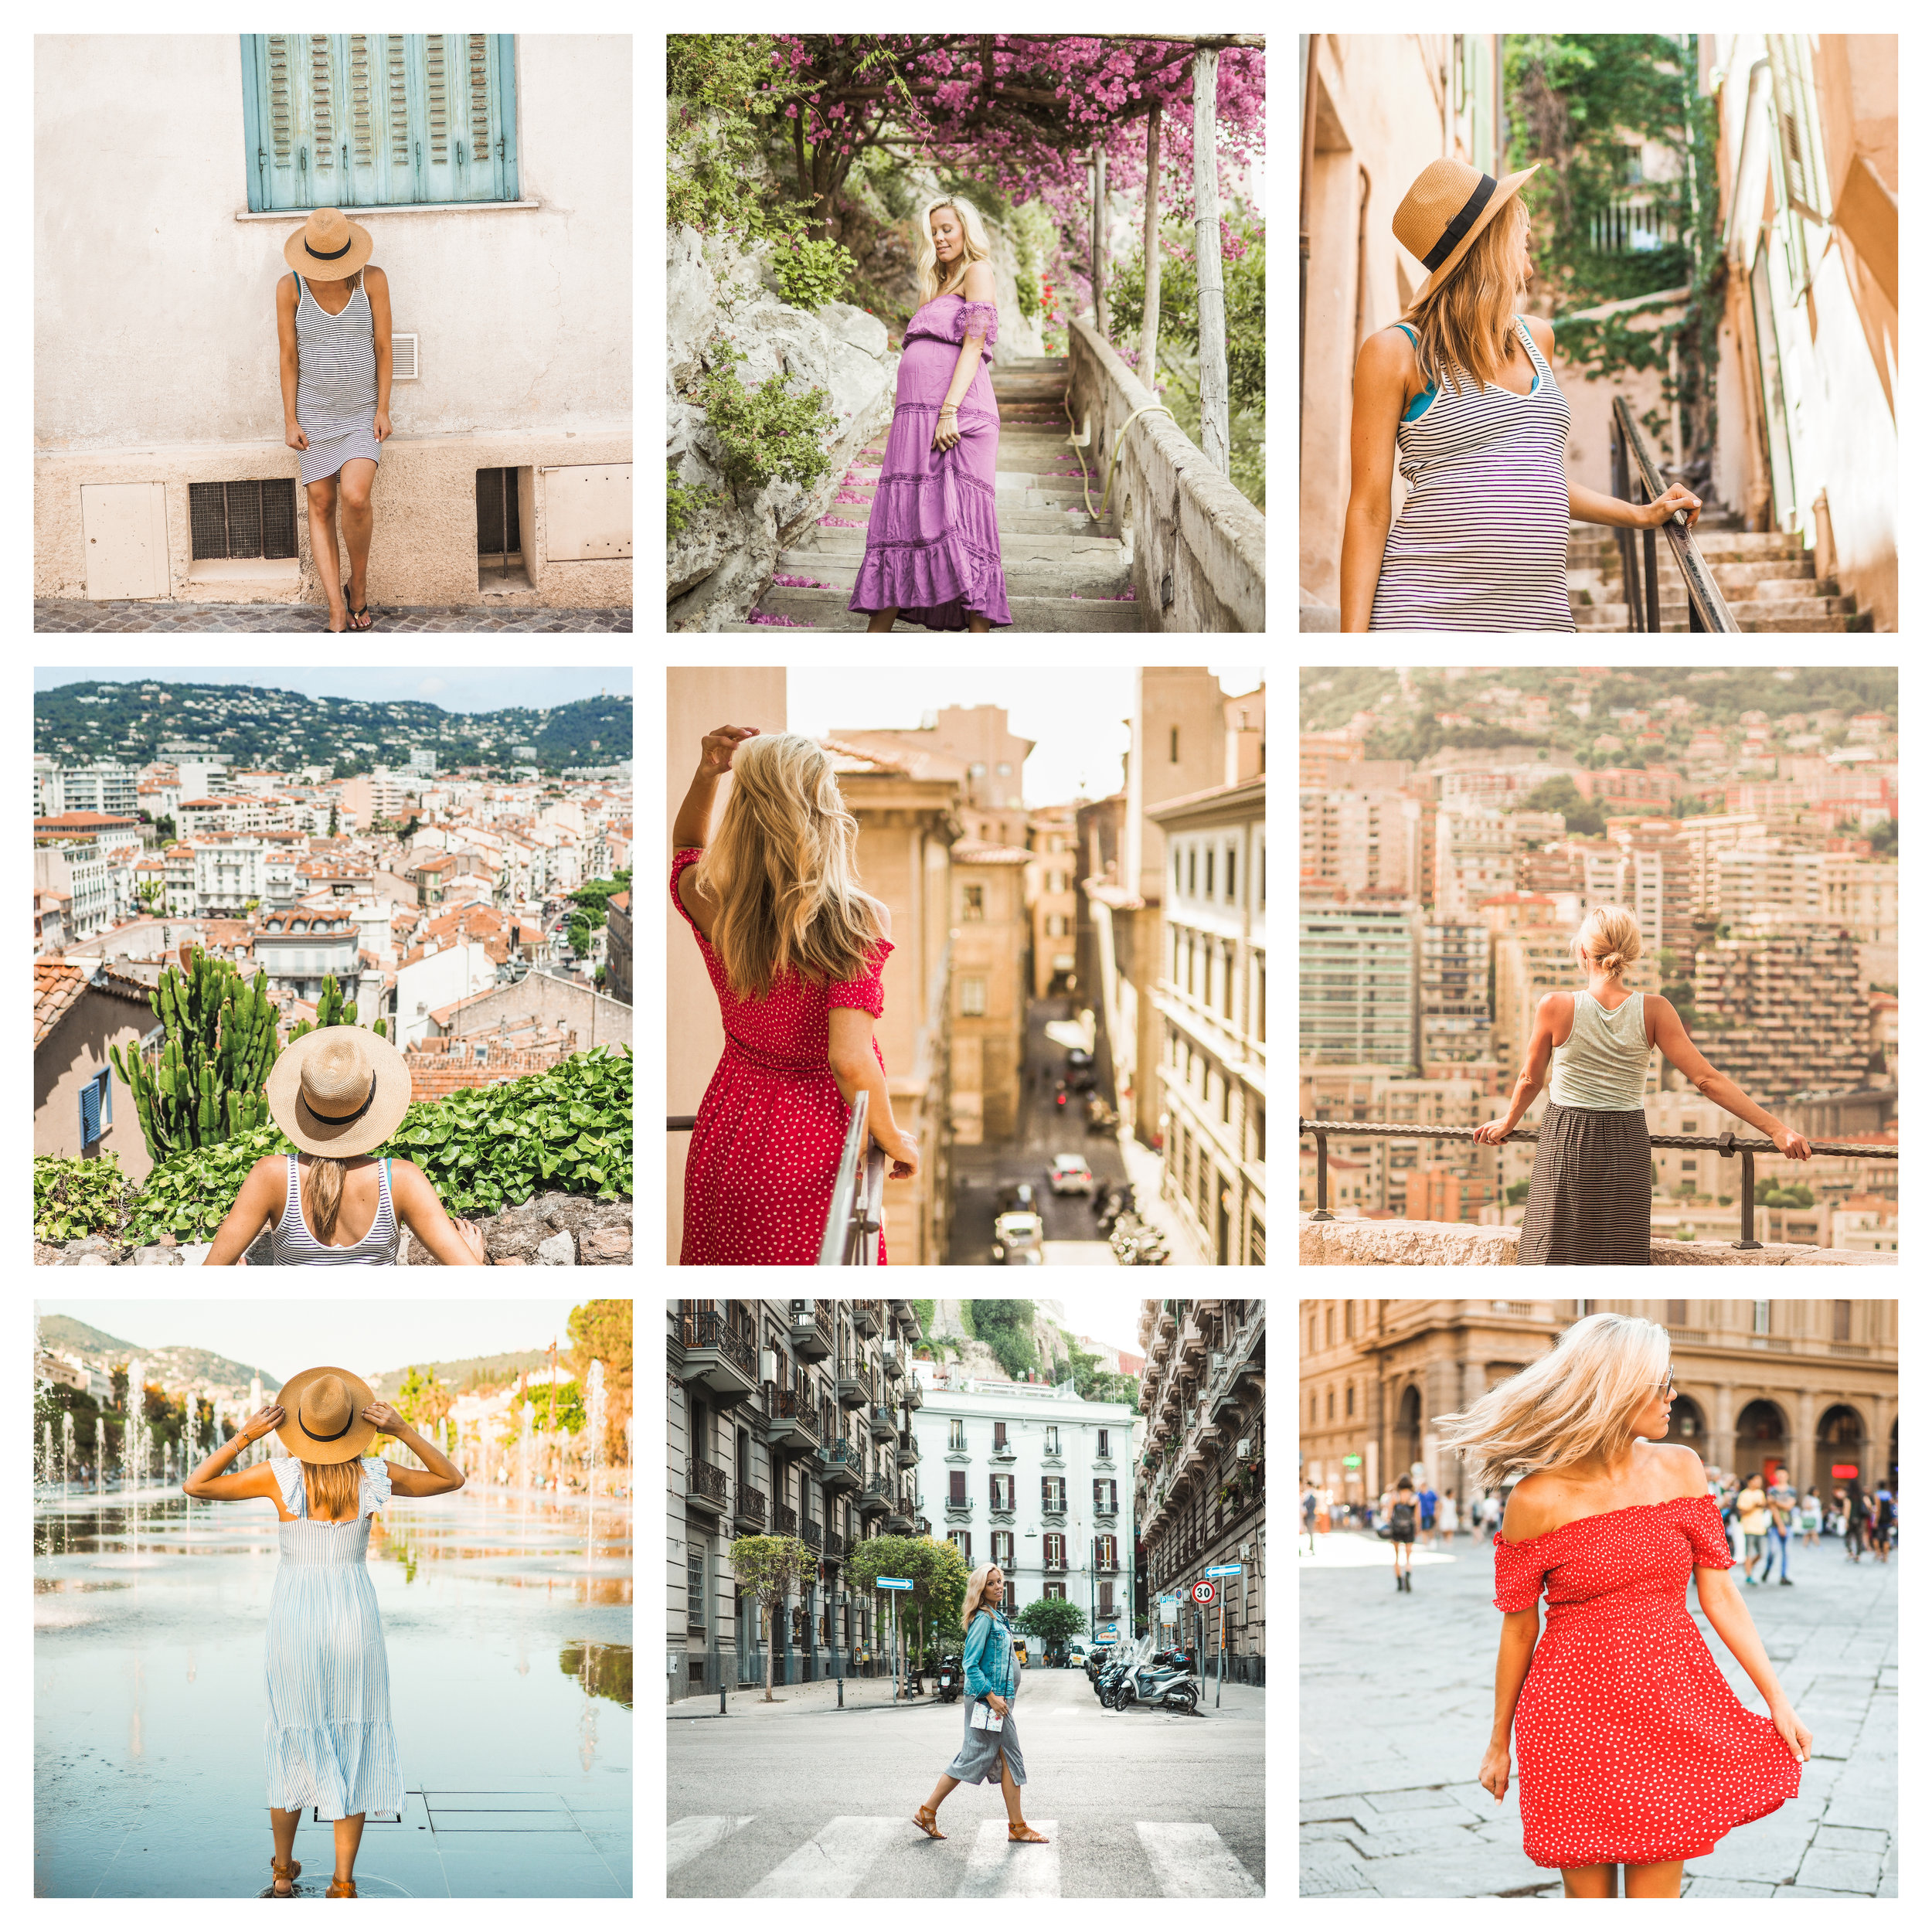
The Wanderlust Pack includes 5 presets inspired by the streets of Europe - these presets will give your photos a warm, creamy, golden hue that will completely transform them and give them a feel of endless summer. Perfect for all your photos - whether that be photos taken on your iPhone, or from a camera - the Wanderlust Pack is versatile and easy to use!
If you aren't already - follow me on Instagram @megcusick - for before and afters, and be on the lookout for some giveaways so you can win a FREE pack!
OR sign up for my newsletter to get the latest info and first notice when the Presets drop!